Project Options
For the 3D printing assignment, we were tasked with creating a device (maximum 5 by 5 by 5 inches) that accomplished one of the tasks listed below.
- A phone holder
- A device that holds 50 pennies, 40 nickels, 50 dimes, and 40 quarters
- A device that holds 4 toothbrushes
- A device that organizes a pair of earbuds
Research and Sketches
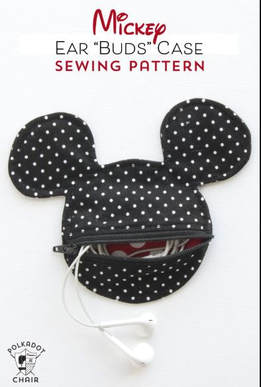
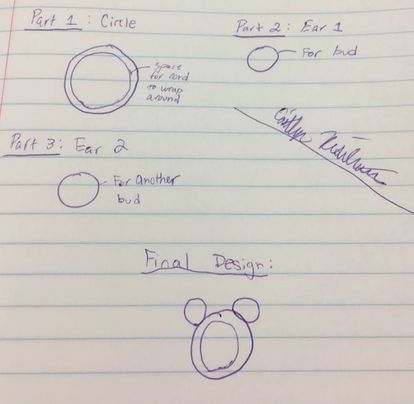
I used the internet as inspiration for my device. A picture of the device that inspired me can be found below. I have also provided a picture of my design sketches below.
|
|
Creation Process
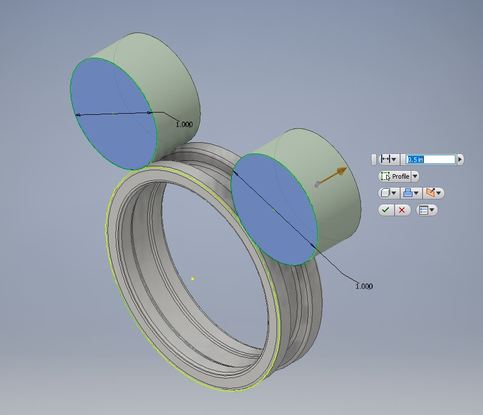
I started creating my design by using Inventor (a CAD software). I decided to keep my device relatively small. I made the main circle's diameter 2 inches, the ears 1 inch, and the height of the design 0.5 inches. A picture of me extruding the ears of my design in Inventor can be found below.
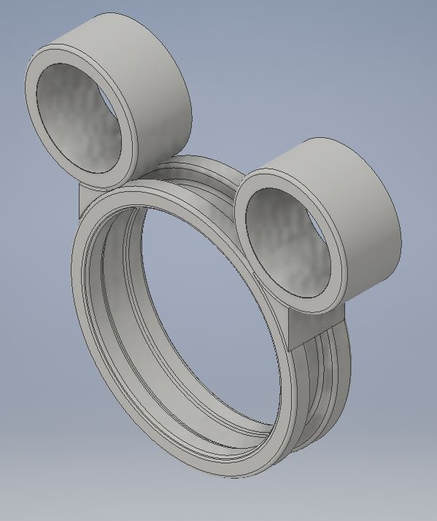
Below is my finished design in Inventor.
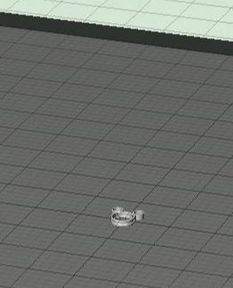
After I finished creating my design in Inventor I saved it as a .stl file and placed it in Makerbot. This software allows me to export my device to the Makerbot printers. My initial placement of my device after laying it flat can be seen below.
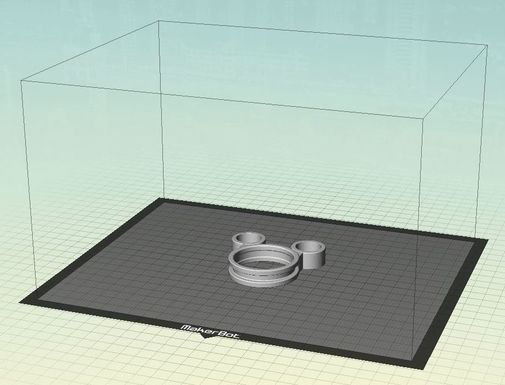
After placing my device in Makerbot, I converted the inches measurements to the correct amount of millimeters. This allowed my to print my design as the correct size. A picture of this new sizing can be found below.
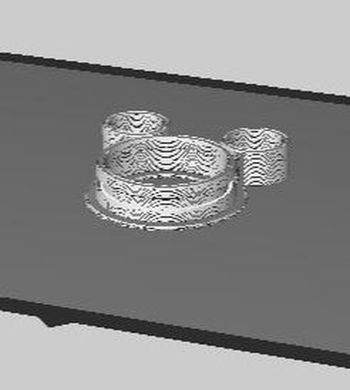
Before exporting the file to the printer, I previewed it to make sure it would print in an efficient manner. A picture of the preview can be found below.
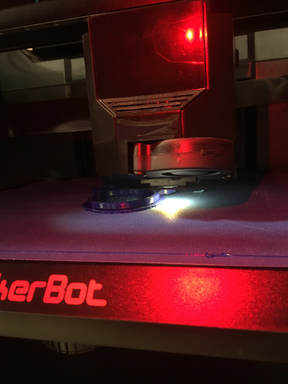
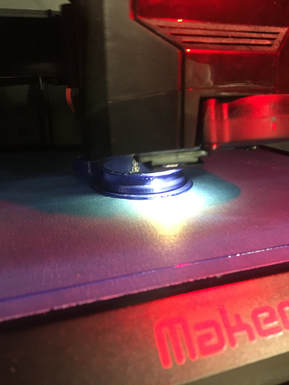
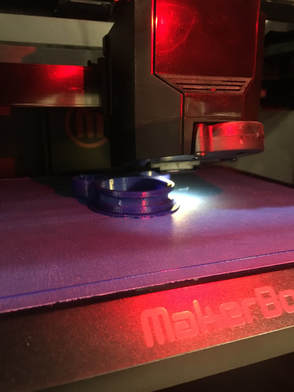
After checking the preview, I exported the file to the printer and saved the file on a USB. I then set up one of the 3-D printers and made sure it had the color of filament I wanted to use. The print took about an hour and 15 minutes and a few pictures of it being printed can be found below.
|
|
|
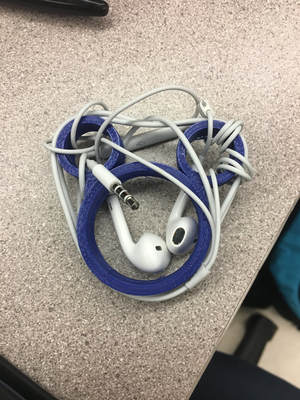
Below are three pictures: one is of my device without earbuds wrapped around it on the printer, one is of my device without earbuds wrapped around it and one is with the earbuds wrapped around. Although this design seems complex, users simply have to pull the connecting end of the earbud and it will untangle from the holder.

Summary |

|
|
In this project, I learned how to better use the MakerBot Software to 3D print an intricate object that I created in Inventor. First, I created my earbud using Inventor (a 3D modeling software). Next, I converted my Inventor file (.ipt) to a MakerBot compatible file (.stl) in order to prepare it for 3D printing. Lastly, I saved my MakerBot file (.stl) on a flash drive and downloaded it into the MakerBot 3D printer. Photos of my final product after 3D printing can be found above.
