3 Layer Decal
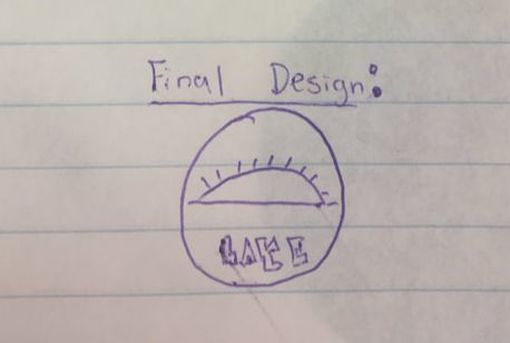
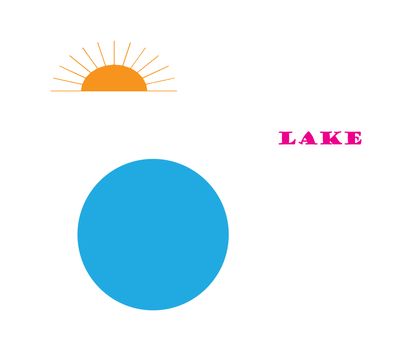
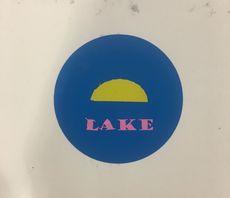
In this project, I used Illustrator to design a vinyl decal of my name. I plan to place this decal on a folder for my friend. Below is a picture of my design in Illustrator and in my designer notebook. I ended up not using the beam of the sun as they were too thin.
|
|
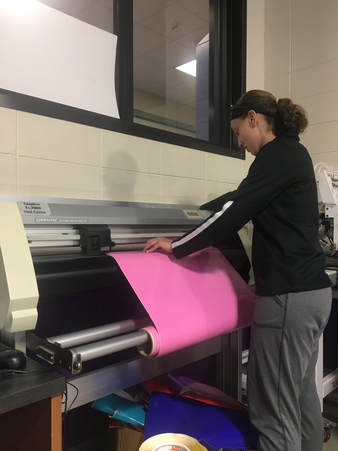
After designing my decal, I printed it out using the vinyl cutter. A picture of me using the cutter can be found below.
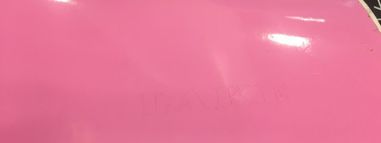
Next, I peeled off the excess (negative) space that I did not want to apply to my folder. I pulled the excess space off slowly and at about a 45 degree angle in order to maintain the quality of my product. The pictures of my decals before having the negative space pulled off can be found below.
|
|
|
After this step, I applied my vinyl decal to tape. I ensured there were no air bubbles by using a squeegee, and slowly pulled off the back of the vinyl. This left me with the vinyl stuck to the tape. I then stuck the vinyl to the cover of my designer notebook squeegeed it flat, and removed the taped slowly. This left me with only the decal. Below is a picture of my final decal on my folder.
Summary
I have learned a variety of different things from this project. Through this process, I learned how to use Illustrator to create intricate designs for the vinyl cutter. In addition, the vinyl decal further taught me how to properly use the tape and the process of squeegeeing to place a decal onto the surface of a material.
