About Inventor
According to Wikipedia, "Autodesk Inventor is a computer-aided design application for 3D mechanical design, simulation, visualization, and documentation." In simpler terms, Inventor is a software where you can design and assemble a variety of different 3D designs. I typically use Inventor to create a 3D model of a product I want to print out using the MakerBot 3D printer.
Widget Sketches
I began my widgets by sketching all six of my widgets in my Engineering Notebook. My two best sketches are pictured below.
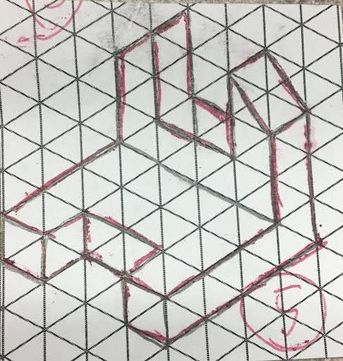
Widget 5
|
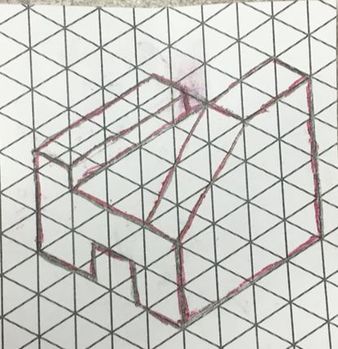
Widget 4
|
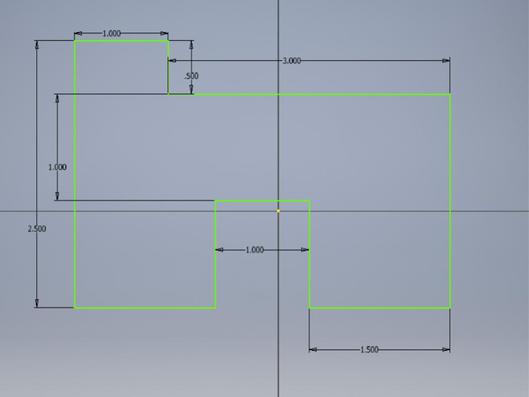
Widget 4
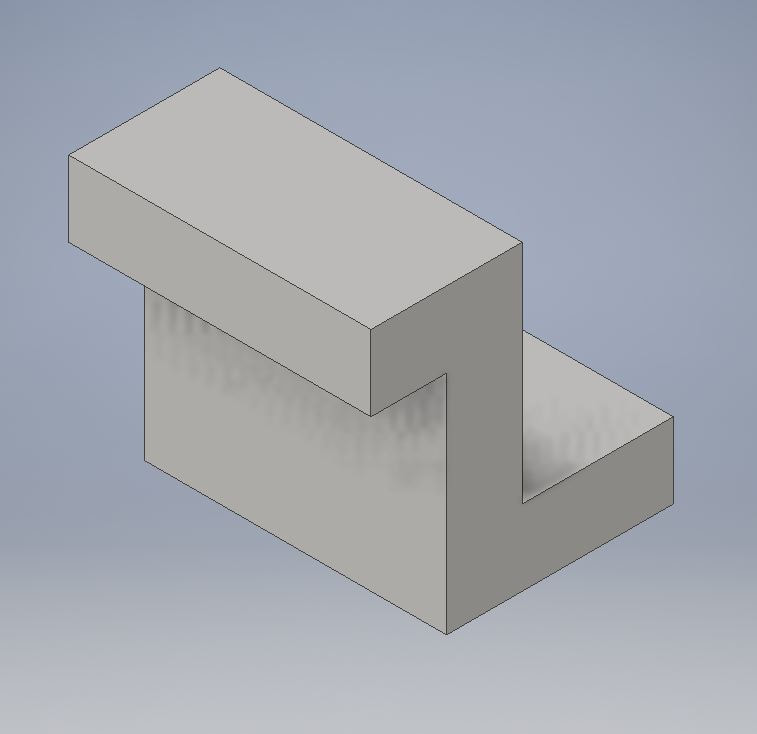
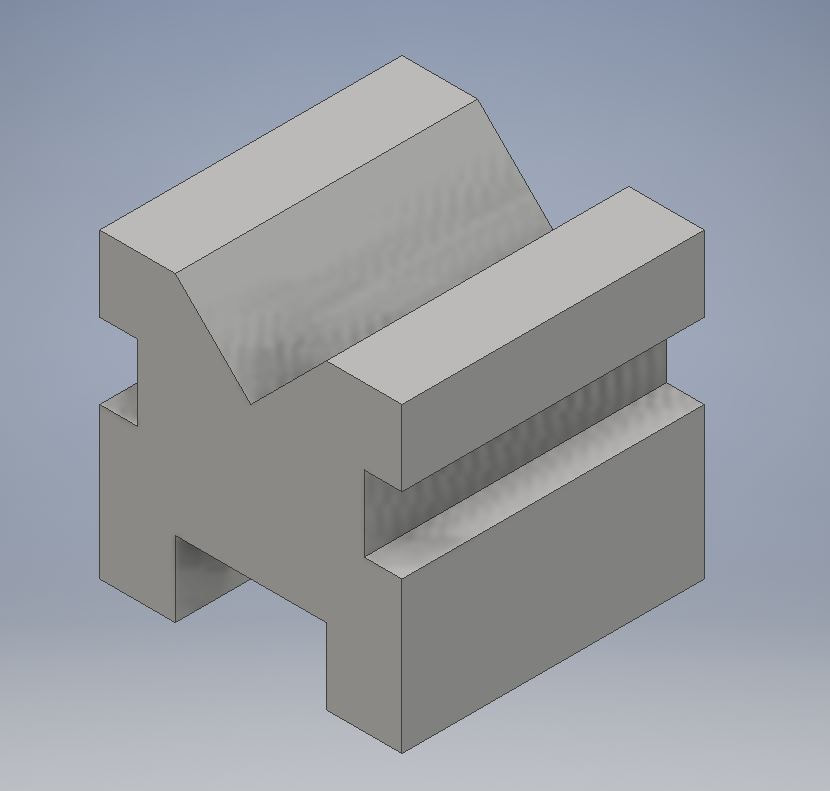
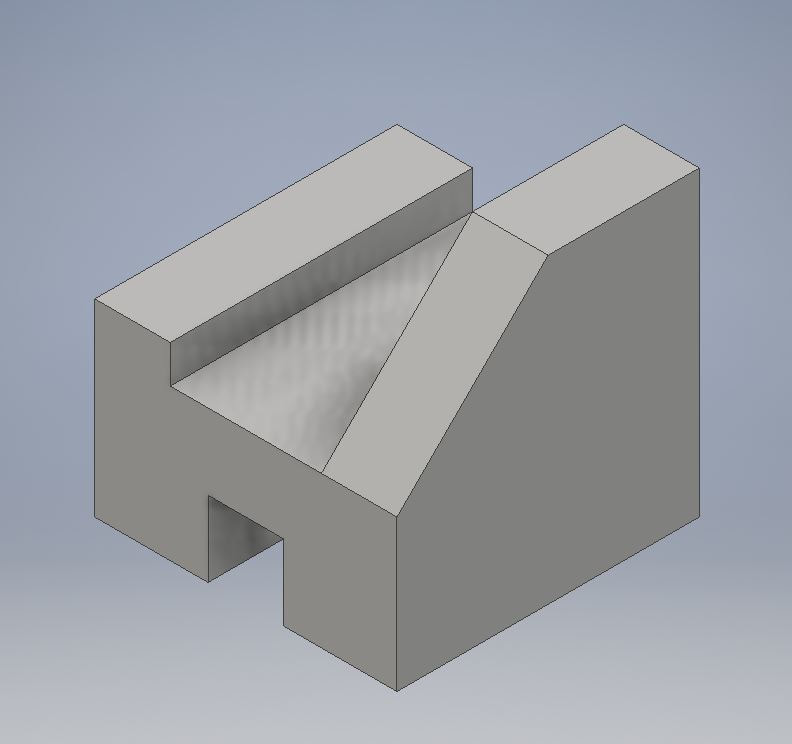
I began creating widget 4 by sketching the largest two-dimensional face of the object.
After creating this sketch, I extruded it by four inches.
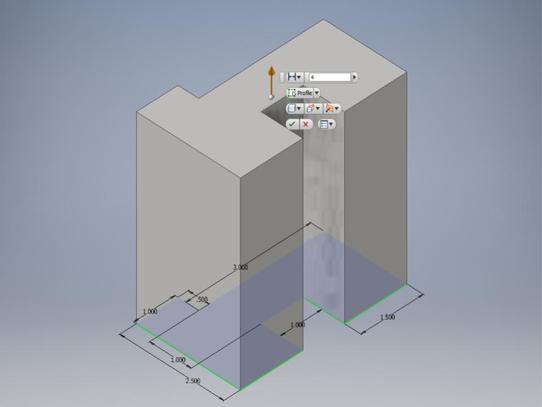
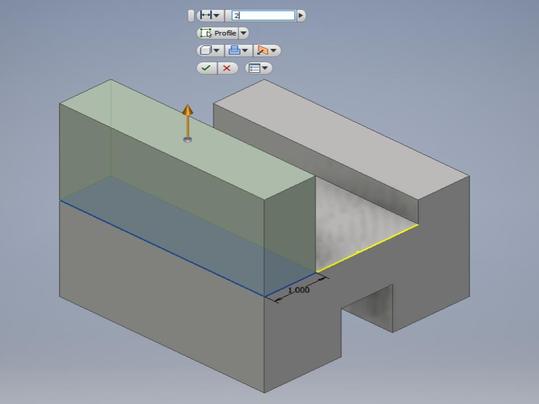
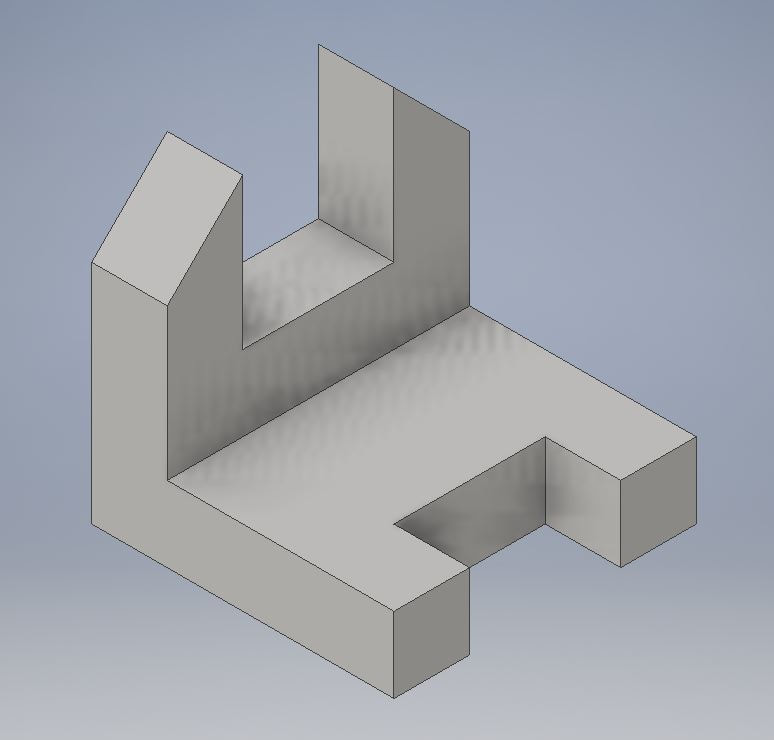
After making the largest section of the 3D model, I sketched a rectangle with a length of one inch and a width of four inches.
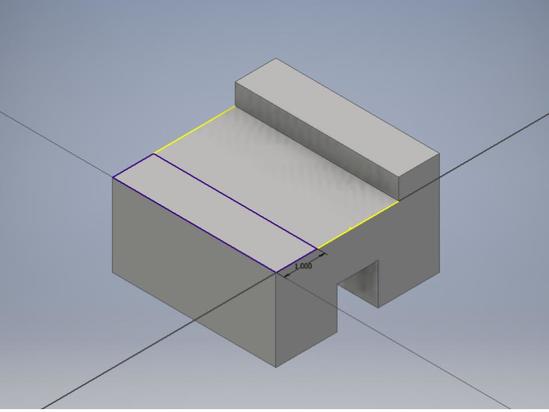
Next, I extruded the rectangle two inches.
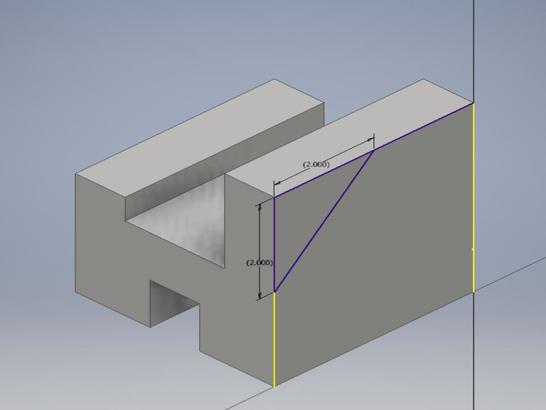
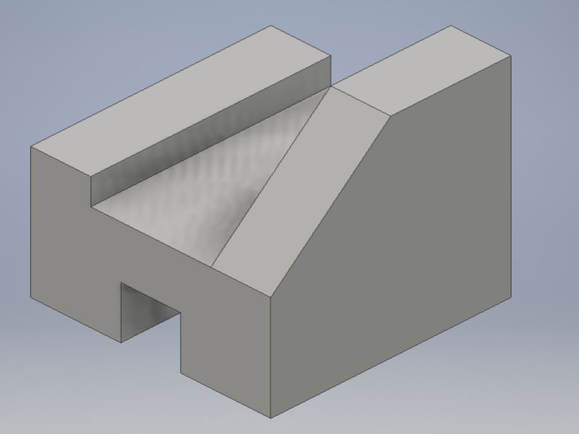
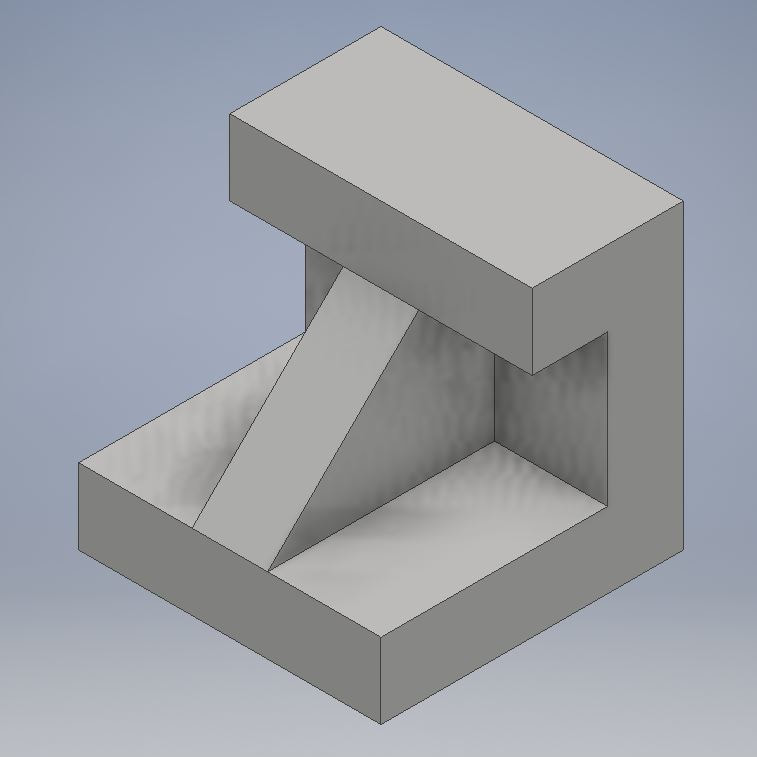
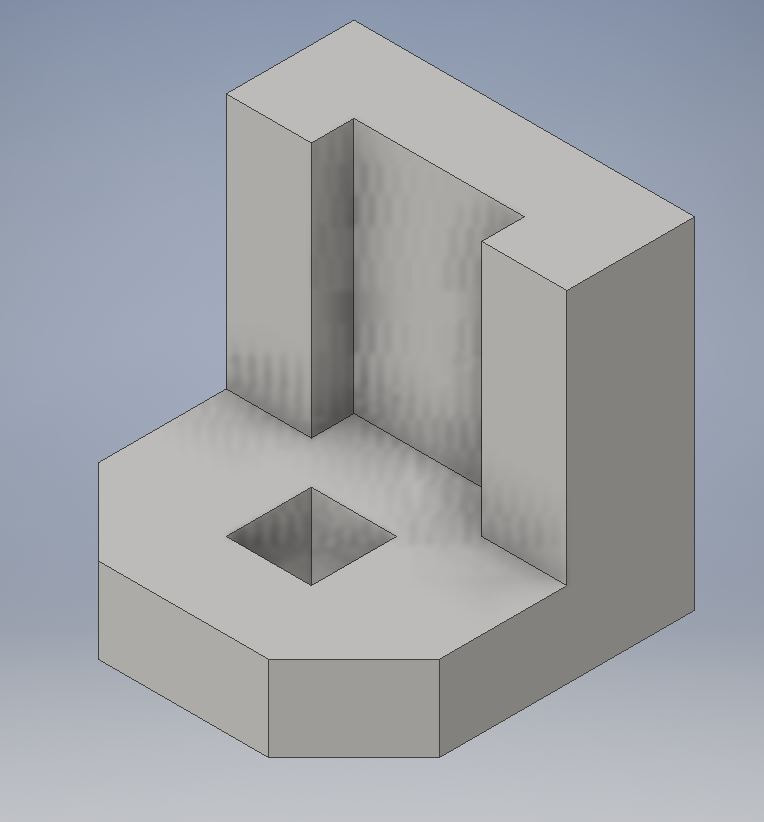
After I extruded the rectangle, I drew a right triangle in the corner of the widget's largest face. The triangle I drew has both a base and a height of two inches.
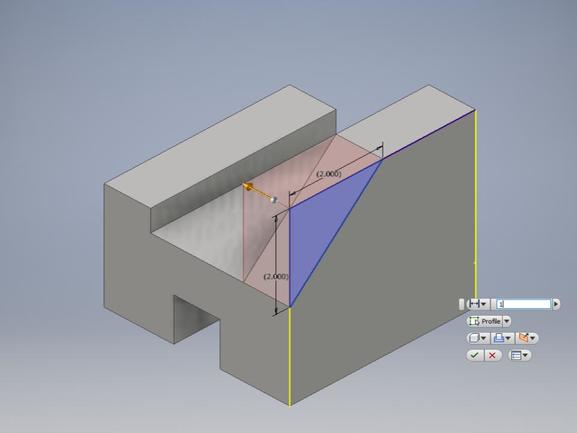
Next, I extruded the triangle backwards two inches. This allowed me to cut off this part of the object.
Below is the completed 3D model of Widget 4.
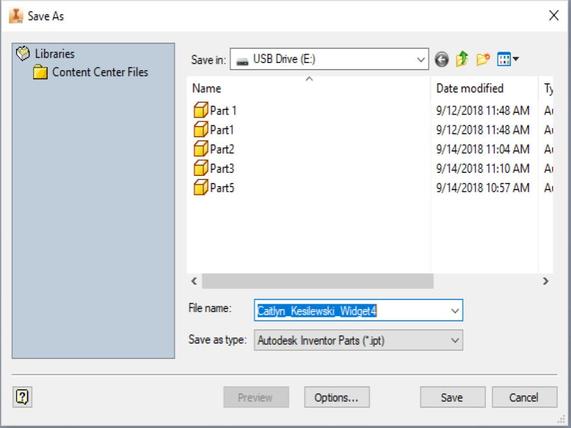
After I completed the widget, I saved the part on my flashdrive as Kesilewski_Caitlyn_Widget4.ipt.
Completed Widgets
↓↓↓↓↓↓↓↓↓↓
3D Printing of Widget 4
After I completed the 3D model of widget 4, I began the process of 3D printing the object. I started by converting my Inventor .ipt file to an .stl in order to prepare it for printing. Next, I opened up the MakerBot Software and placed my .stl file on the bottom of the cube (seen below).
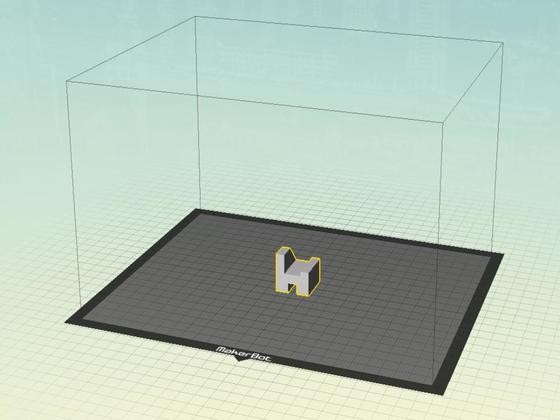
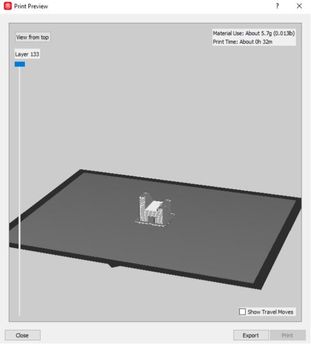
After laying my widget flat onto the bottom surface of the cube, I previewed the print job to make sure the object would be produced correctly. I also checked to make sure the object was being built on a raft (a rectangular shape at the bottom of the object) as it will improve the quality of the widget.
|
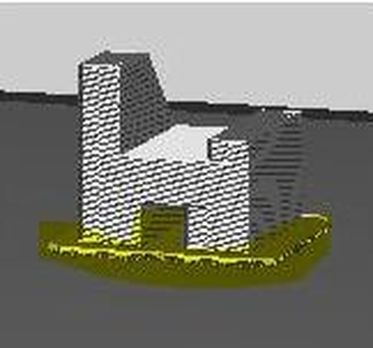
Raft is Highlighted
|
After I formatted the widget correctly in Makerbot, I sent it to the printer. Below are picturesof widget 4 being printed.
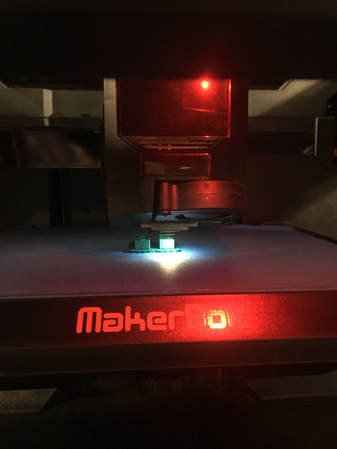
|
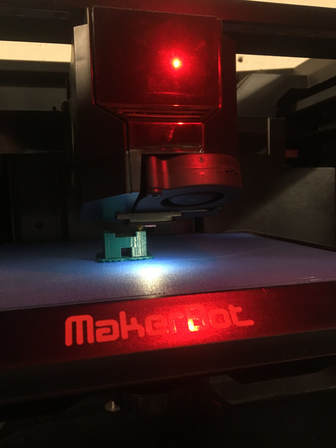
|
The far right image below is a picture of my finished product.
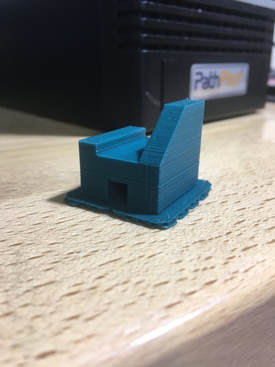
Widget 4 With Raft
|
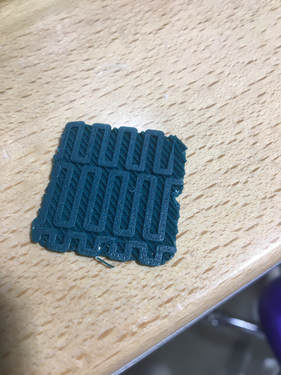
Raft
|
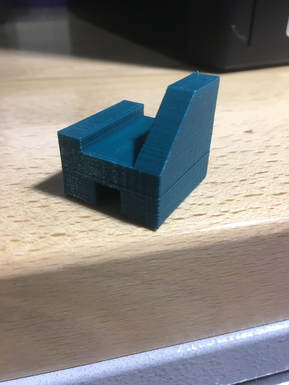
Widget 4 Without Raft
|
Summary
In this project, I learned how to use the MakerBot Software to 3D print an object that I created in Inventor. First, I created my widget using Inventor (a 3D modeling software). Next, I converted my Inventor file (.ipt) to a MakerBot compatible file (.stl) in order to prepare it for 3D printing. Lastly, I saved my MakerBot file (.stl) on a flash drive and downloaded it into the MakerBot 3D printer. Photos of my final product after 3D printing can be found above.
