Maze Design
After being taught how to use the CNC (Computer Numerical Control) router I was assigned a project. In this project, I had to create a maze based upon the following design criteria:
- The material must be 3/4" Styrofoam
- The maze must be no larger than 8 1/2" x 11"
- The maze needs a 3/8" border around its perimeter
- Channels must be 5/16" wide and 1/4" deep
- Start and end locations must exist
- Your name and class hour must be laser engraved into the maze
Inventor
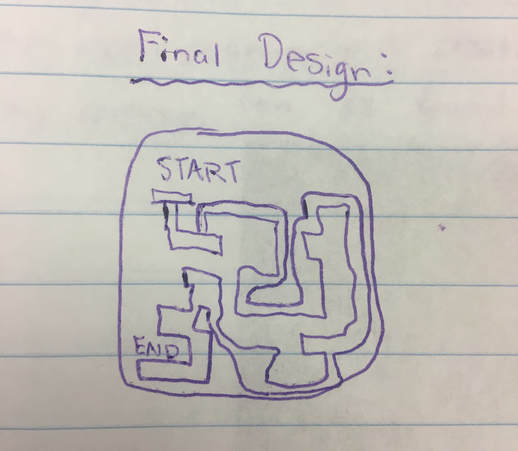
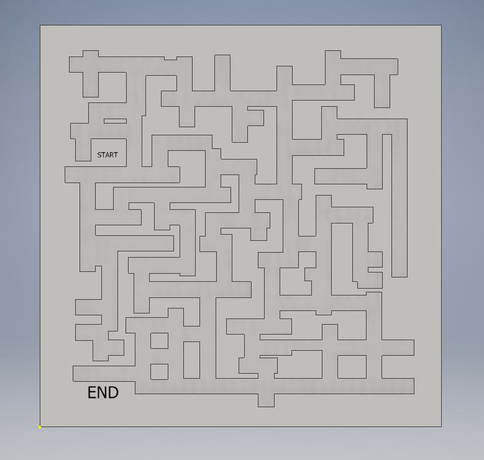
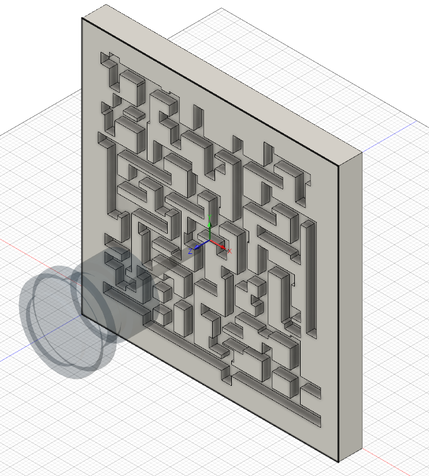
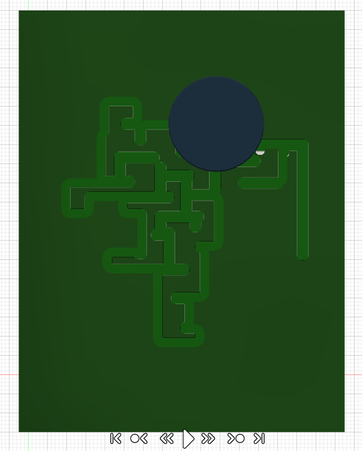
I decided to create a maze design that gave the illusion it was difficult. However, the actual path to solve it was quite simple. The sketch of my design and its final 3D model I made in Inventor can be found below.
|
|
Fusion 360
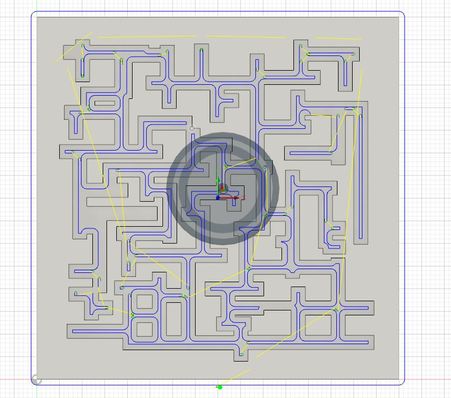
After completing my design in Inventor, I set up the process I would be using to cut it out using the Fusion 360 software. To do this. I used the 2D contour process to select the bottom walls of my channels. Finally, I checked that the router would be able to perform the task by stimulating the process it would take to cut my design. A picture of my selected stock point, a picture of my selected channels, a picture of the path that the router would take, and a picture of the stimulation I ran can be found below.
|

|
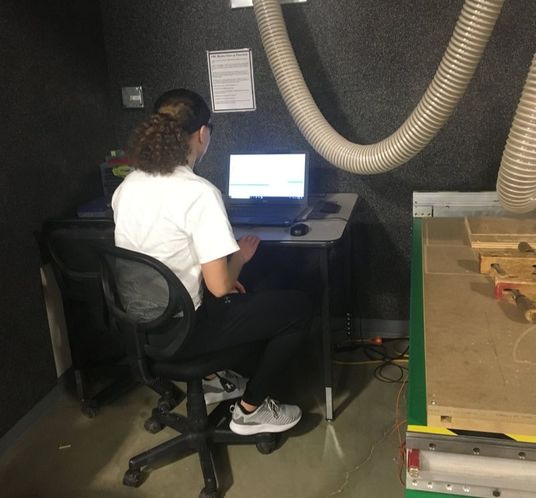
Setting up and Using the Router
When I finished my desgin in Fusion 360, I saved it as a ".nc" file to my flash drive. After this I was ready to use the CNC router. Before using the machine I first checked the axes on which the process will be set. Since my maze design is an 8" x 8" square, I did not need to worry about these settings as much. However, I did make sure that the bottom left corner of my maze was the starting point so I could zero the router at that point. A picture of me checking over these important details can be found below.
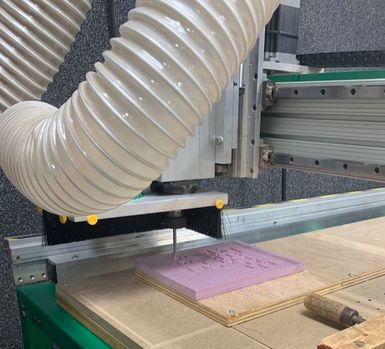
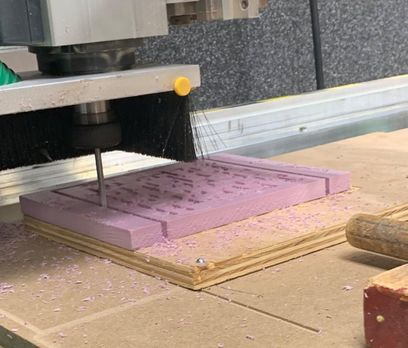
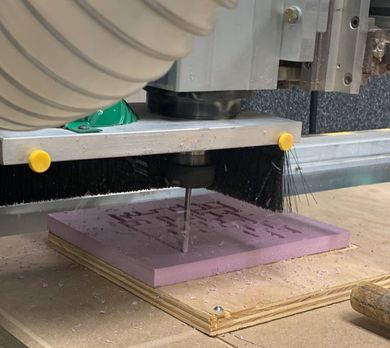
After I had set up the router, I attached the Styrofoam block to the cutting table using double-sided tape. I then pressed "Start," and kept my hand over the space bar from the beginning to the end of the process. A few pictures of my maze being cut out can be found below.
Final Product |
|
|
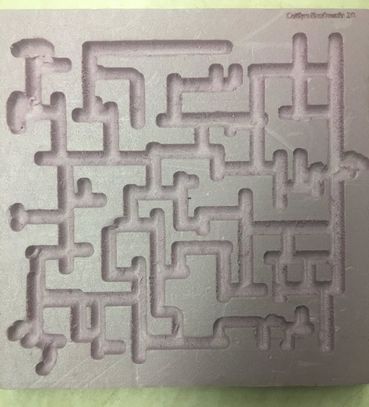
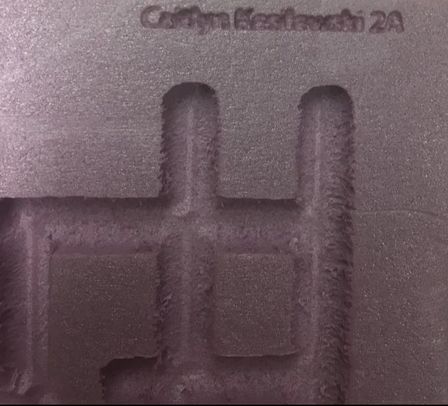
After about 8 minutes, my maze was completely cut out. Below is a picture of my finished design with my name and class hour laser engraved it in.
Summary |
|
I learned a variety of new techniques in this individual CNC router rotation. First, I was introduced to the Fusion 360 software and I became more familiar with the 2D counter tool within the program. I also learned how to prepare and use the CNC router. This can be a helpful skill to have if I pursue a career in the field of engineering. Overall, I had a great time learning about the CNC router and I look forward to using the machine again in the future!
