About Illustrator
Adobe Illustrator is a 2-D modeling program. In this software, images, text, and drawings are converted into vectors (rather than rasters) in order to maintain the quality of the design throughout sizing changes. Vector images use paths and anchors to form lines as opposed to raster images which compose images using pixels.
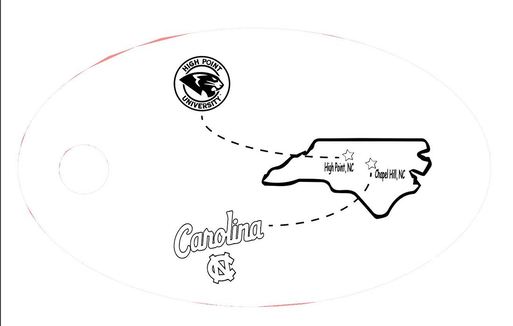
Key Chain Design
Below is the key chain design I created using Illustrator. Since the software is compatible with the laser, the file will allow me to engrave and cut out my project.
Before Cutting
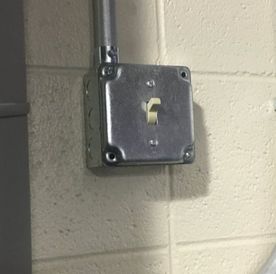
Before I started using the laser, I made sure the exhaust was on. This allowed me to have properly ventilated work space.
After turning the exhaust on, I opened my Illustrator file on the computer connected to the laser. I then selected the laser as my printer and edited the preferences for the 0.024" extruded acrylic that was being cut and engraved.
After this, I opened up the Universal Control Panel and selected my design. Next, I made sure the laser light shined on each of my corners in order to verify that it will be on the material throughout the cutting process. Finally I used the focus tool to place the laser in the upper left corner of my design and hit the green button indicating the laser can start its job.
During Cutting
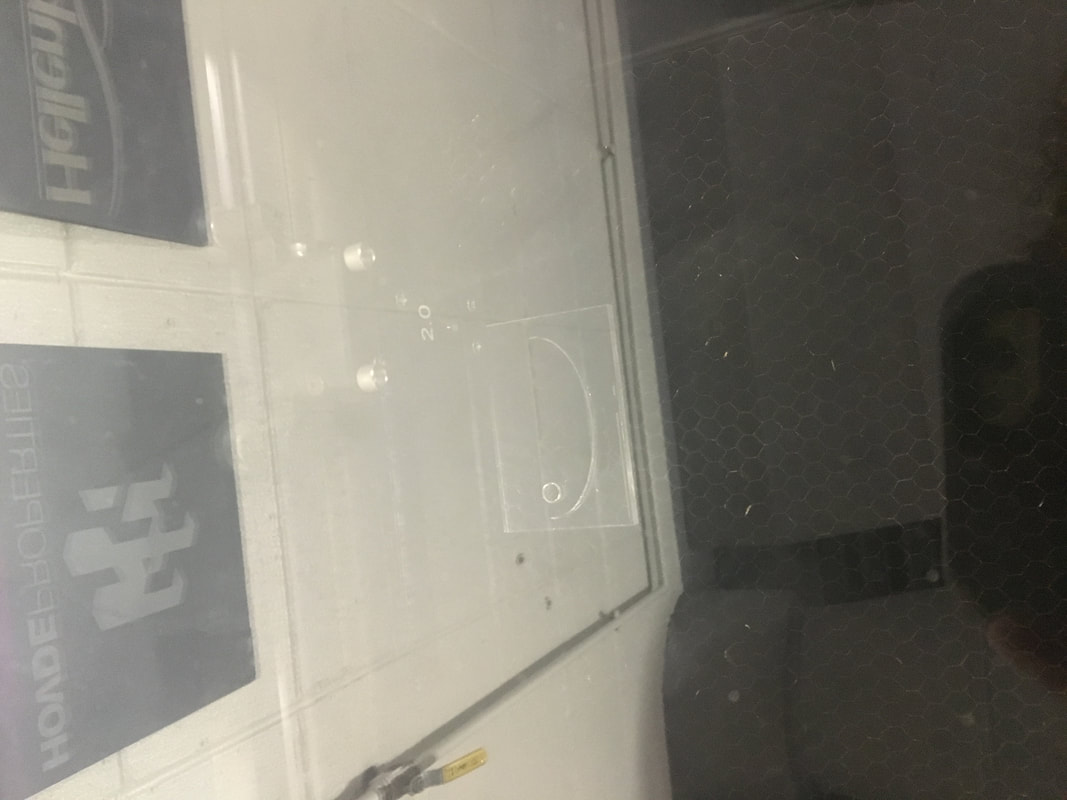
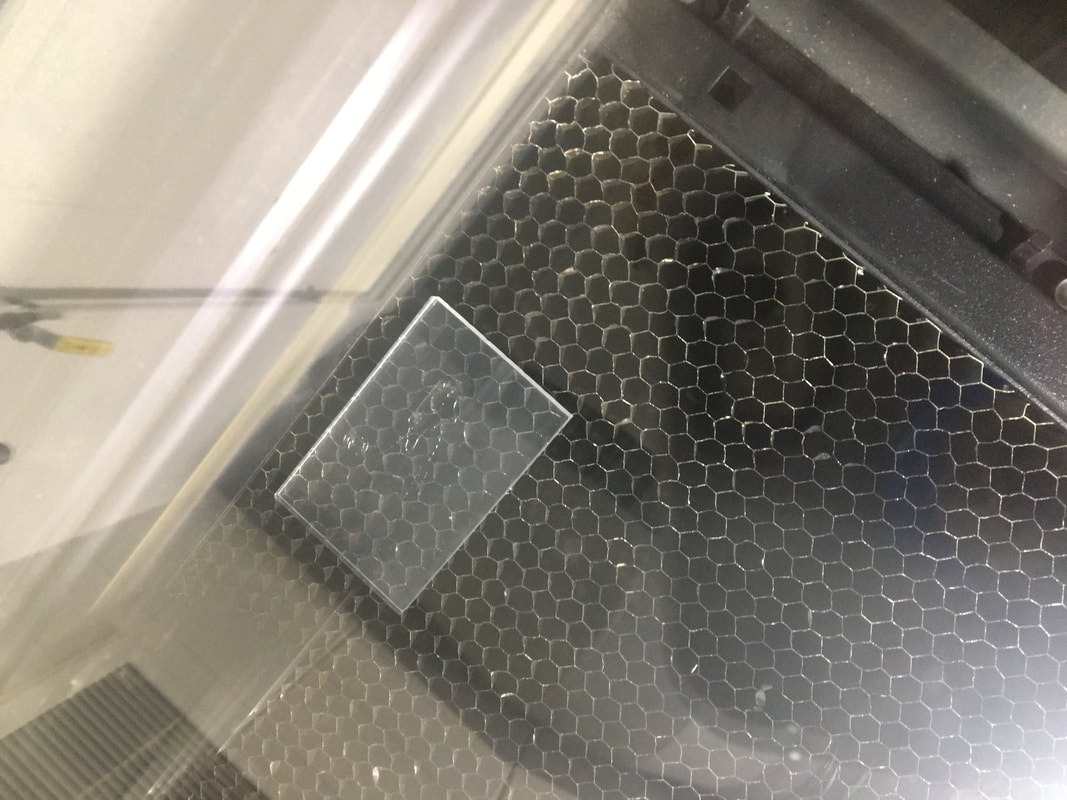
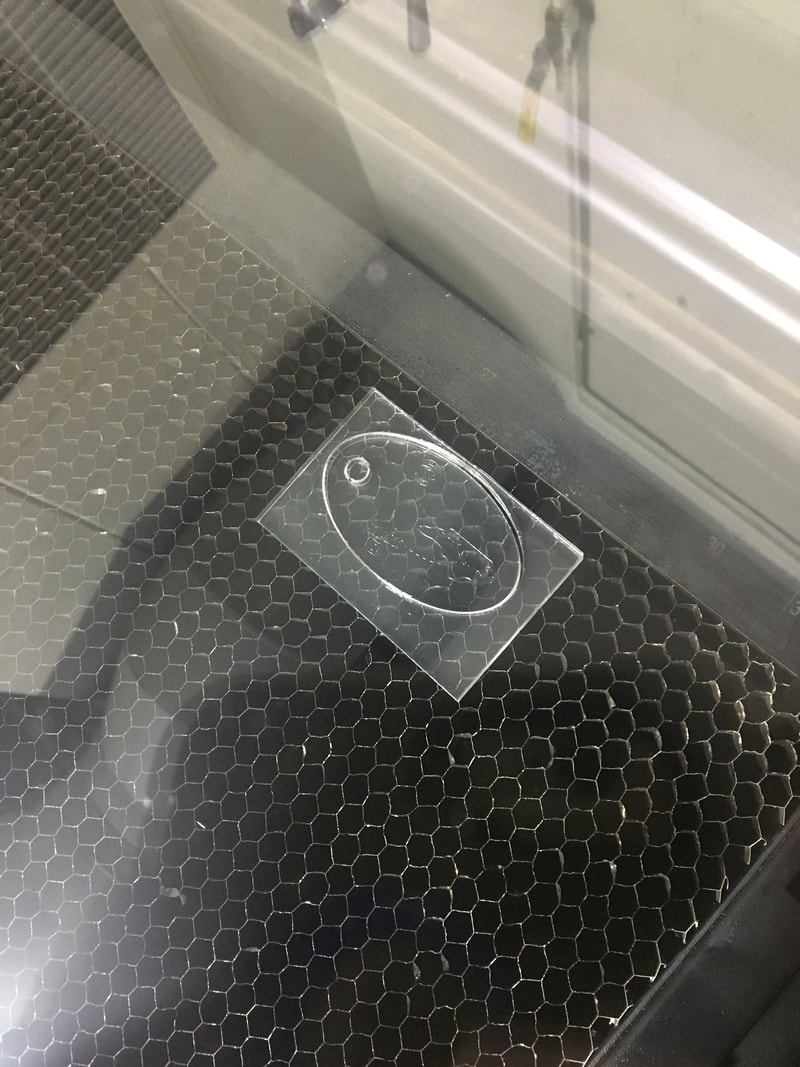
Above are pictures of the laser during its cutting and engraving process. The laser began its job by raster engraving my black vectors. Shortly after, the laser began to cut along my red vector that had a stroke thickness of 0.0001. My design only took about 5 minutes to create.
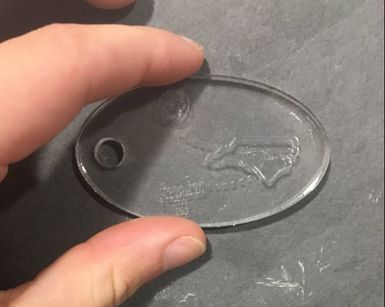
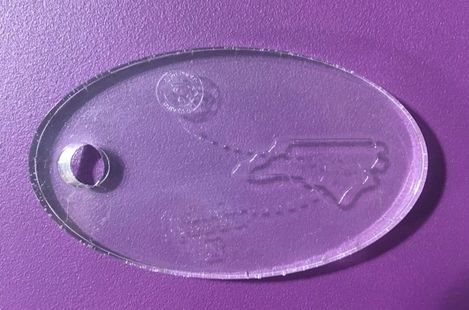
The Final Product
Once the laser has finished, it will return to the upper right corner of the machine. Below are two pictures of my final product.
|
|
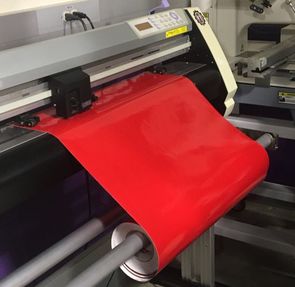
Vinyl Notebook Design
I also used Illustrator to design a vinyl decal of my name. I plan to place this decal on my designer notebook. Below on the left is a picture of the decals being created in Illustrator. Below on the right is a picture of the the vinyl cutter produce our decals.
|
|
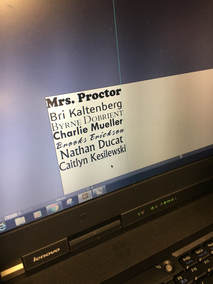
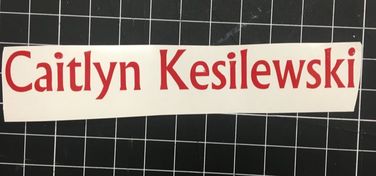
After the machine cut out the decals, each person cut out their name. A picture of mine can be seen below.
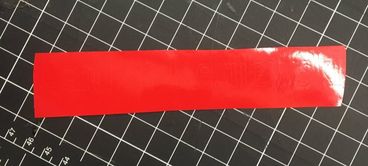
Next, I peeled off the excess (negative) space that I did not want to apply to my engineering notebook. I pulled the excess space off slowly and at about a 45 degree angle in order to maintain the quality of my product.
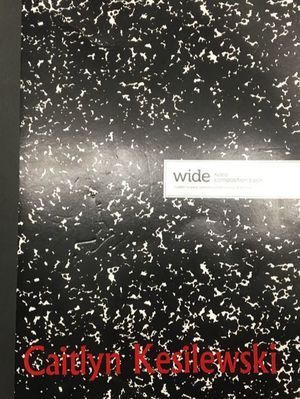
After this step, applied my vinyl decal to tape. I ensured there were no air bubbles by using a squeegee, and slowly pulled off the back of the vinyl. This left me with the vinyl stuck to the tape. I then stuck the vinyl to the cover of my designer notebook squeegeed it flat, and removed the taped slowly. This left me with only the decal. Below is a picture of my final decal on my notebook.
Summary
I have learned a variety of different things from both of these projects. Through both processes, I learned how to use Illustrator to create intricate designs for the laser and the vinyl cutter. The key chain design taught me how to use the UCP software to tell the laser to cut and/or engrave. On the other hand, the vinyl decal taught me how to use the vinyl cutter and properly use the tape and the process of squeegeeing to place a decal onto the surface of a material.
