Making a Clock
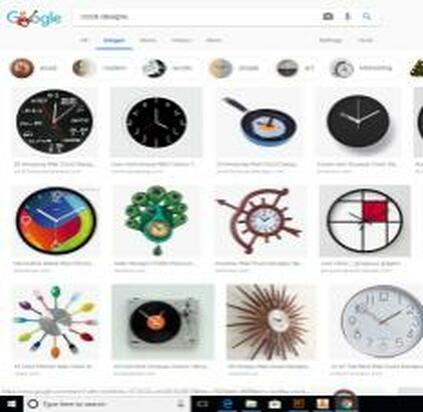
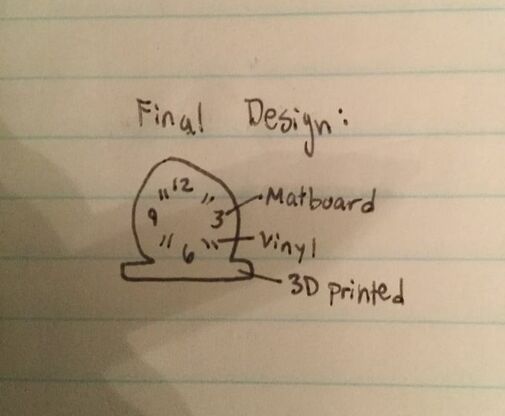
For our final project, we were given the task of designing a clock using at least three different machines in the Innovation Center. I decided to use the 3D printer, the laser, and the vinyl machine to create my clock. After choosing the machines I would use, I sketched a few different designs for my clock in my engineering notebook. I ended up using the design that had only the main clock numbers (3,6,9,12) and tick mark for the other hours. A picture of the fully labeled sketch of my final design and a picture of me researching ideas online can be found below.
|
|
Inventor - 3D Printing
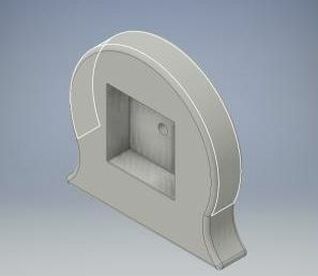
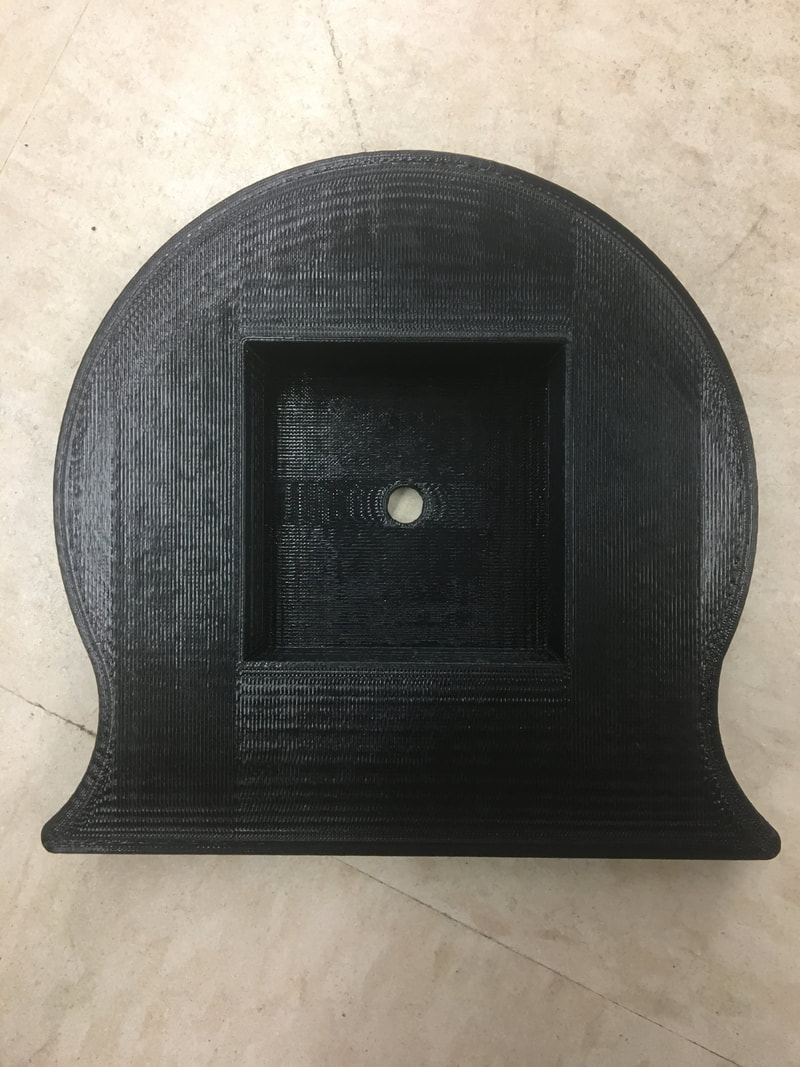
I began creating my clock base by sketching the largest two-dimensional face of the object in Inventor. After creating this shape, I simply extruded it 1 inch and cut a 0.75 inch square hole in the center where the clock mechanism (2.25 inch by 2.25 inch) would go. A picture of my completed design in Inventor can be found below.
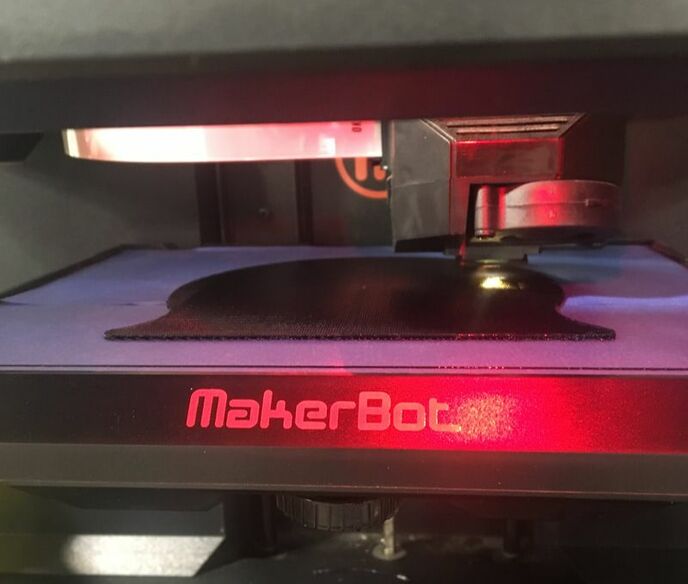
After I completed the 3D model of my clock, I began the process of 3D printing the object. I started by converting my Inventor .ipt file to an .stl in order to prepare it for printing. Next, I opened up the MakerBot Software and placed my .stl file on the bottom of the cube (seen below). I ended up switching my clock base so it was laying flat that way the print wouldn't require any supports.
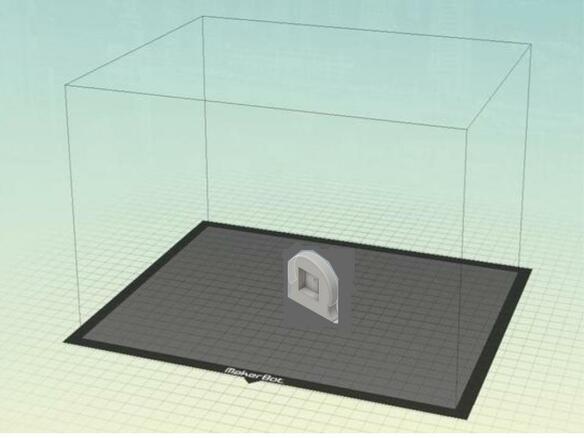
After laying my clock flat onto the bottom surface of the cube, I previewed the print job to make sure the object would be produced correctly. I also checked to make sure the object was being built on a raft (a rectangular shape at the bottom of the object) as it will improve the quality of the base. After I formatted the clock correctly in Makerbot, I sent it to the printer. Below is a picture of my clock base being printed.
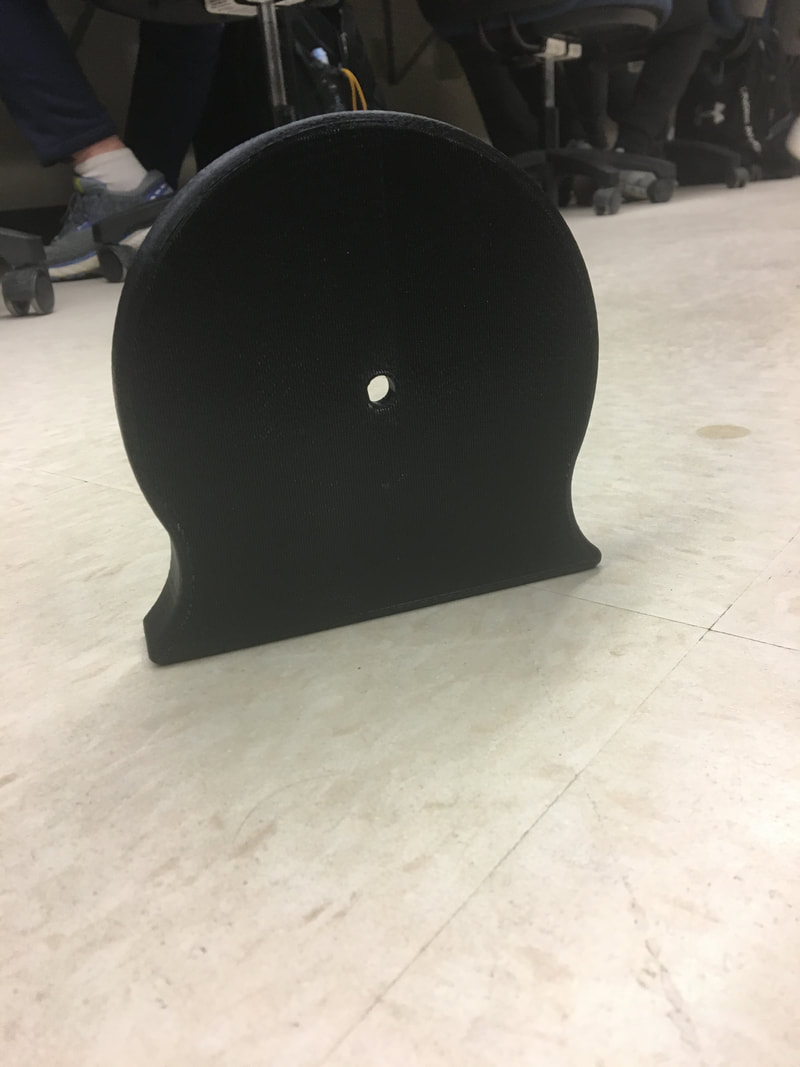
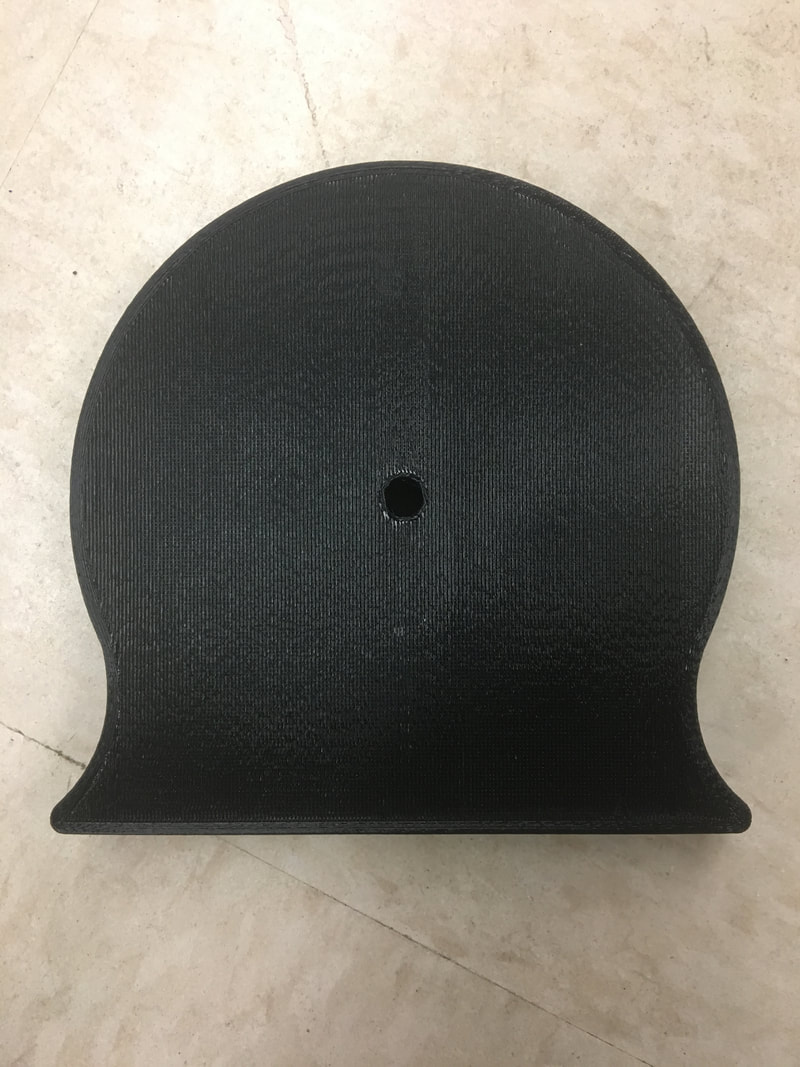
Below are a few pictures of my completed clock base.
|
|
|
Illustrator - Laser
After completing the base of my clock, I created the main numbers of the design (3,6,9,12) using Illustrator. A picture of these numbers ready to be cut can be found below.
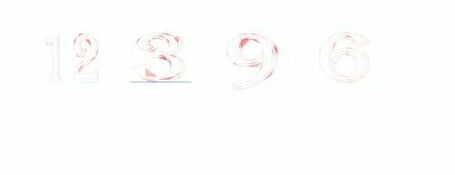
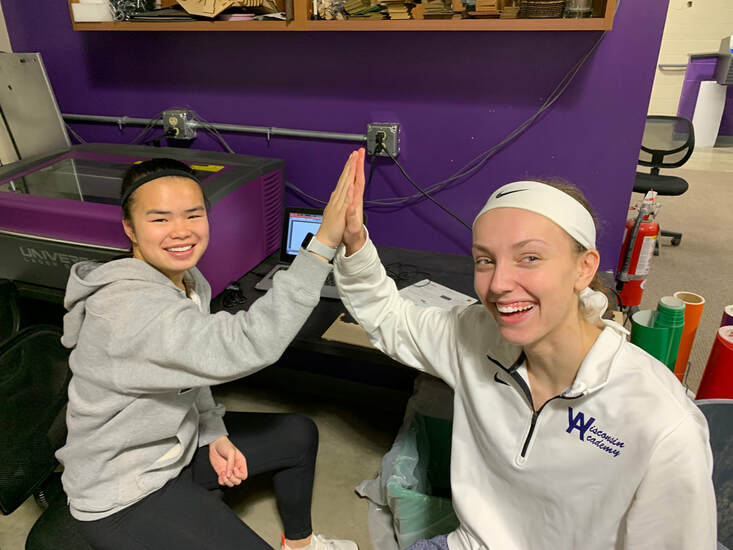
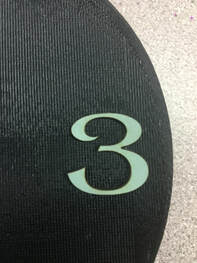
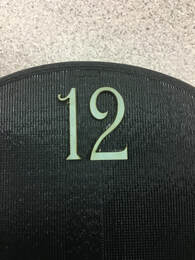
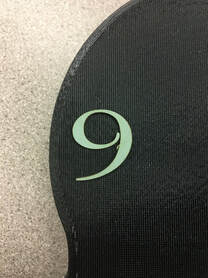
After completing my design in Illustrator, I used the laser cutter to produce my project. A picture of Syd and I working hard on the laser and pictures of each of the numbers can be found below. The material I chose was teal matboard as I believed the colors would create a bold contrast against the black colored clock base.
|

|
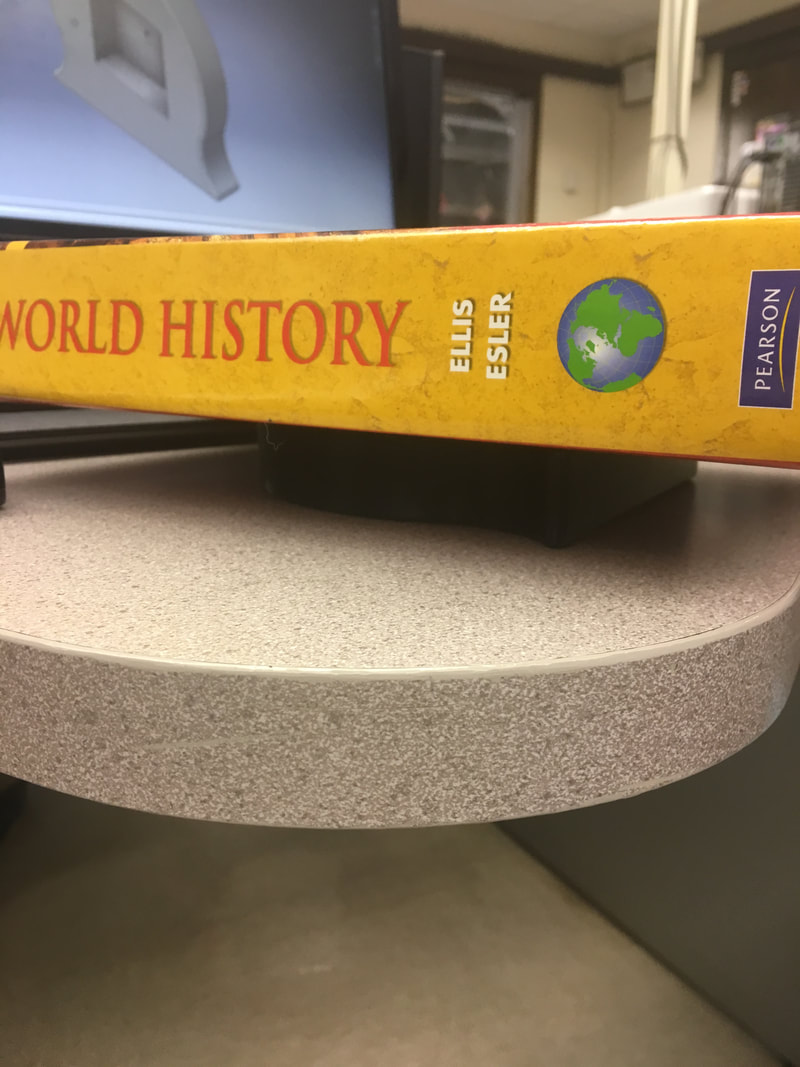
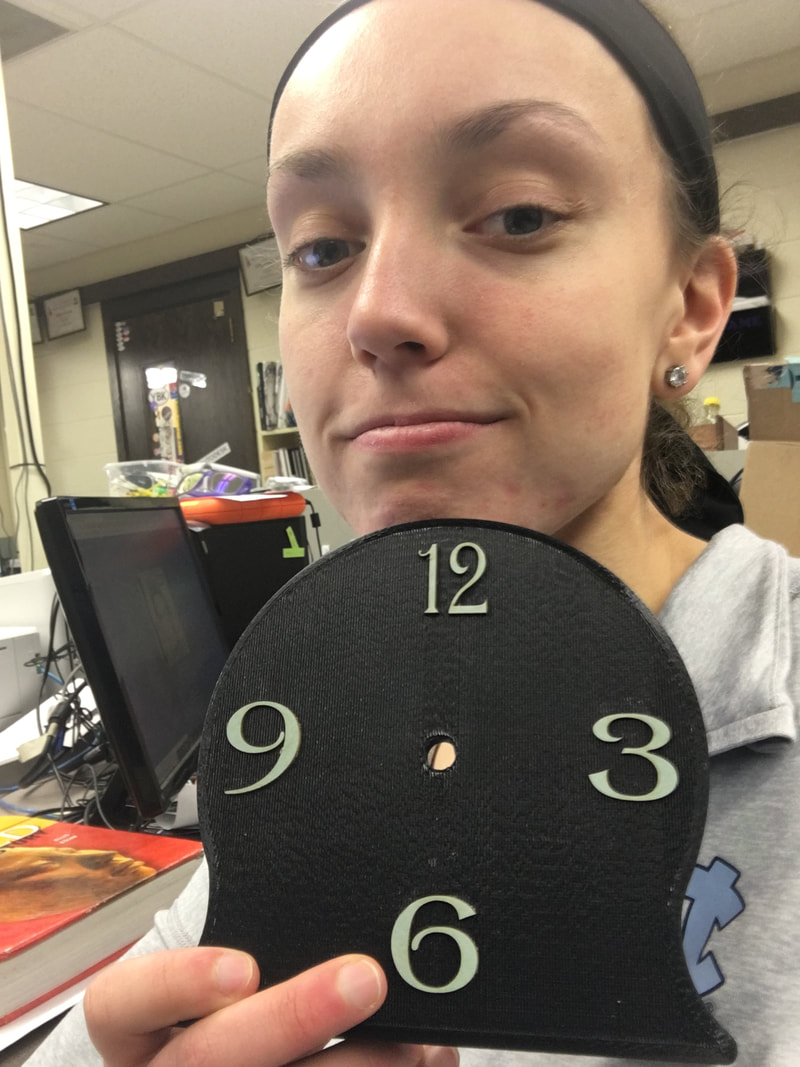
After the laser created my design, I used glue to attach the numbers to my clock. Below is a picture of a history book I used to make sure the numbers stuck and a selfie of me with the matboard numbers attached to the clock base.
|
|
Illustrator - Vinyl Cutter
For the third part of my project, I used Illustrator to design a vinyl decal. I originally planned to place this decal in the center of my clock, but I instead decided to only use part of the design for the clock's "tick marks." Below is a picture of my design in Illustrator. As you can see, I only ended up using the triangle shaped parts of this design as the clock's tick marks.

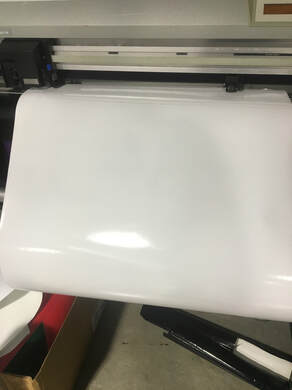
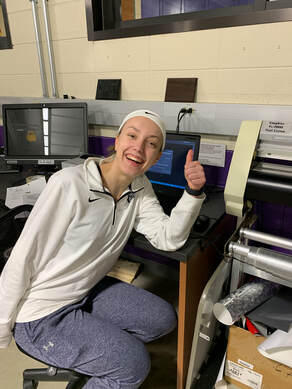
After designing my decal, I printed it out using the vinyl cutter. Two pictures of me setting up and using the cutter can be found below.
|
|
Next, I peeled off the excess (negative) space that I did not want to apply to my clock. I pulled the excess space off slowly and at about a 45 degree angle in order to maintain the quality of my product. The pictures of my decal before having the negative space pulled off (the intricate design is hard to see) can be found below.
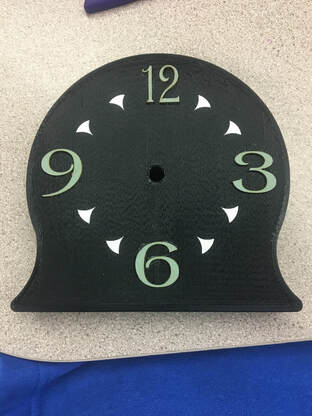
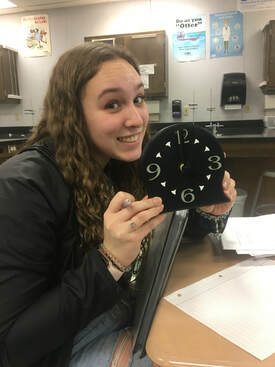
After this step, I applied each of my vinyl decal triangles to tape. I ensured there were no air bubbles by using a squeegee, and slowly pulled off the back of the vinyl. This left me with the vinyl stuck to the tape. I then stuck each vinyl tick mark to the clock base, squeegeed it flat, and removed the taped slowly. This left me with only the decal. Below is a picture of my final decals on my clock.
Final Product
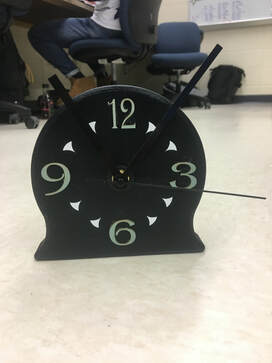
Below are two pictures of my completed clock.
|
|
Summary
During the creation of my clock, I was able to combine all the skills I've learned throughout the semester into one project. I was able to push my creative boundaries and I really enjoyed doing so! I also reviewed how to use Inventor, Illustrator, Makerbot, the vinyl cutter. the 3D printer, and the laser. This class and this final project were both great experiences for me and I plan to use the skills I learned in EDD later this year! Syd and I will miss you next semester Proctor!!!
